1. Schema を構築する
graph データの設計図を作ろう
全ての Data Graph は schema を用いて、data graph が含むデータの型を定義します。例えばオンライン書店の schema は以下のような型を定義することになるでしょう。
Every data graph uses a schema to define the types of data it includes. For example, the schema for an online bookstore might define the following types:
type Book {
  title: String
  author: Author
}

type Author {
  name: String
  books: [Book]
}
この章では、まず schema の構造に則り動作する GraphQL server をセットアップし、その後に schema を定義していきます。
In the steps below, we'll set up a GraphQL server that will enforce our schema's structure, and then we'll define the schema itself.
Set up Apollo Server
Schema を書く前に、graph API のサーバーを立てる必要があります。Apollo Server はプロダクションに即使える graph API の構築を助けてくれるライブラリです。これを使えばどんなデータソースにもアクセスすることができます。もちろん REST API にもデータベースにも。さらにこれをつかうことで Apollo の開発ツールともシームレスに連携することができます。
Before we write our schema, we need to set up our graph API's server. Apollo Server is a library that helps you build a production-ready graph API over your data. It can connect to any data source, including REST APIs and databases, and it seamlessly integrates with Apollo developer tooling.
では開発ディレクトリのルートで必要なパッケージをインストールしていましょう。
From the root, let's install our project's dependencies:
cd start/server && npm installApollo Server の開発を始めるのに必要なパッケージは、apollo-server と graphql です。これはすでに package.json に記録しておきましたので上記コマンドを実行すればインストールが完了します。では src/index.js に移動してサーバーを作りましょう。以下のコードをファイルにコピーします。
The two packages you need to get started with Apollo Server are
apollo-serverandgraphql, which we've already installed for you. Now, let's navigate tosrc/index.jsso we can create our server. Copy the code below into the file.
src/index.js
const { ApolloServer } = require('apollo-server');
const typeDefs = require('./schema');

const server = new ApolloServer({ typeDefs });
Graph API を作るためには、ApolloServer class を apollo-server パッケージから読み込む必要があります。また src/schema.js も読み込む必要があります。そうしたら次に ApolloServer class のインスタンスを作成します。その際に schema を設定用オブジェクトの typeDefs プロパティとして渡します。
To build our graph API, we need to import the
ApolloServerclass fromapollo-server. We also need to import our schema fromsrc/schema.js. Next, let's create a new instance ofApolloServerand pass our schema to thetypeDefsproperty on the configuration object.
今作成したサーバーをスタートさせるために必要な schema をまだ作成していませんので、次にこれを作成します。
Before we can start the server, we need to write our schema first.
Write your graph's schema
Graph API は schema を中心につくられています。schema は設計図のようなもので graph API で使用される全てのデータの型とそれらの関係性を示しています。また schema は query を用いて取得できるデータがどのようなものか、それから mutation を用いて更新できるデータがどのようなものか、ということも定義しています。これらは全て strongly typed であり、これによって強力な開発支援ツールの使用が可能になります。
Every graph API is centered around its schema. You can think of a schema as a blueprint that describes all of your data's types and their relationships. A schema also defines what data we can fetch through queries and what data we can update through mutations. It is strongly typed, which unlocks powerful developer tooling.
Schema は、それを使用するクライアント側の必要性に基づいて設計をおこなうと、本領が発揮されます。schema はクライアントとその背後にあるサービスの間に存在するので、フロントエンドチームとバックエンドチームが協業する際の中間地点として非常にうまく機能します。我々としては Schema First Development というチーム開発手法をお勧めします。つまり API の開発をするより先に、まず schema をどのようにするのかチームで合議を取る手法です。
Schemas are at their best when they are designed around the needs of the clients that are consuming them. Since a schema sits in between your clients and your underlying services, it serves as a perfect middle ground for frontend and backend teams to collaborate. We recommend that teams practice Schema First Development and agree upon the schema first before any API development begins.
では今回のアプリを作るために必要になるデータがどのようなものか考えてみましょう。アプリに必要な機能は以下です。
Let's think about the data we will need to expose in order to build our app. Our app needs to:
- 今後のロケット発射予定を全てフェッチする
- 特定の発射予定を ID で指定してフェッチする
- 特定のユーザーとしてログインする
- ユーザーがログインしている場合に宇宙旅行を予約する
- ユーザーがログインしている場合に宇宙旅行をキャンセルする
- Fetch all upcoming rocket launches
- Fetch a specific launch by its ID
- Login the user
- Book launch trips if the user is logged in
- Cancel launch trips if the user is logged in
これから作成していく schema は上記機能に基づいて決定されます。src/schema.js ファイルの中で gql を読み込んで、typeDefs という変数を作成します。この変数が schema を定義するための変数です。schema はgql 関数の中に書いていきます。
Our schema will be based on these features. In
src/schema.js, importgqlfrom Apollo Server and create a variable calledtypeDefsfor your schema. Your schema will go inside thegqlfunction (between the backticks in this portion:gql``).
src/schema.js
const { gql } = require('apollo-server');

const typeDefs = gql`
  # ここにスキーマを書きます
`;

module.exports = typeDefs;
Query type
まずは Query type から定義していきましょう。これは schema にどのような入り口があるのかを示します。つまり、どのようなデータがフェッチできるのかを定義します。(訳注:例えば me という Query type を定義することで、クライアントから me という種類の問い合わせができることを定義する。)
We'll start with the Query type, which is the entry point into our schema that describes what data we can fetch.
Schema を書くために用いる言語は GraphQL's schema definition language (SDL) です。TypeScript を使ったことがあればシンタックスが非常に似ていると感じることでしょう。以下の SDL コードをコピーして src/schema.js の grl 関数のバックティックの間にペーストしましょう。
The language we use to write our schema is GraphQL's schema definition language (SDL). If you've used TypeScript before, the syntax will look familiar. Copy the following SDL code between the backticks where the
gqlfunction is invoked insrc/schema.js
src/schema.js
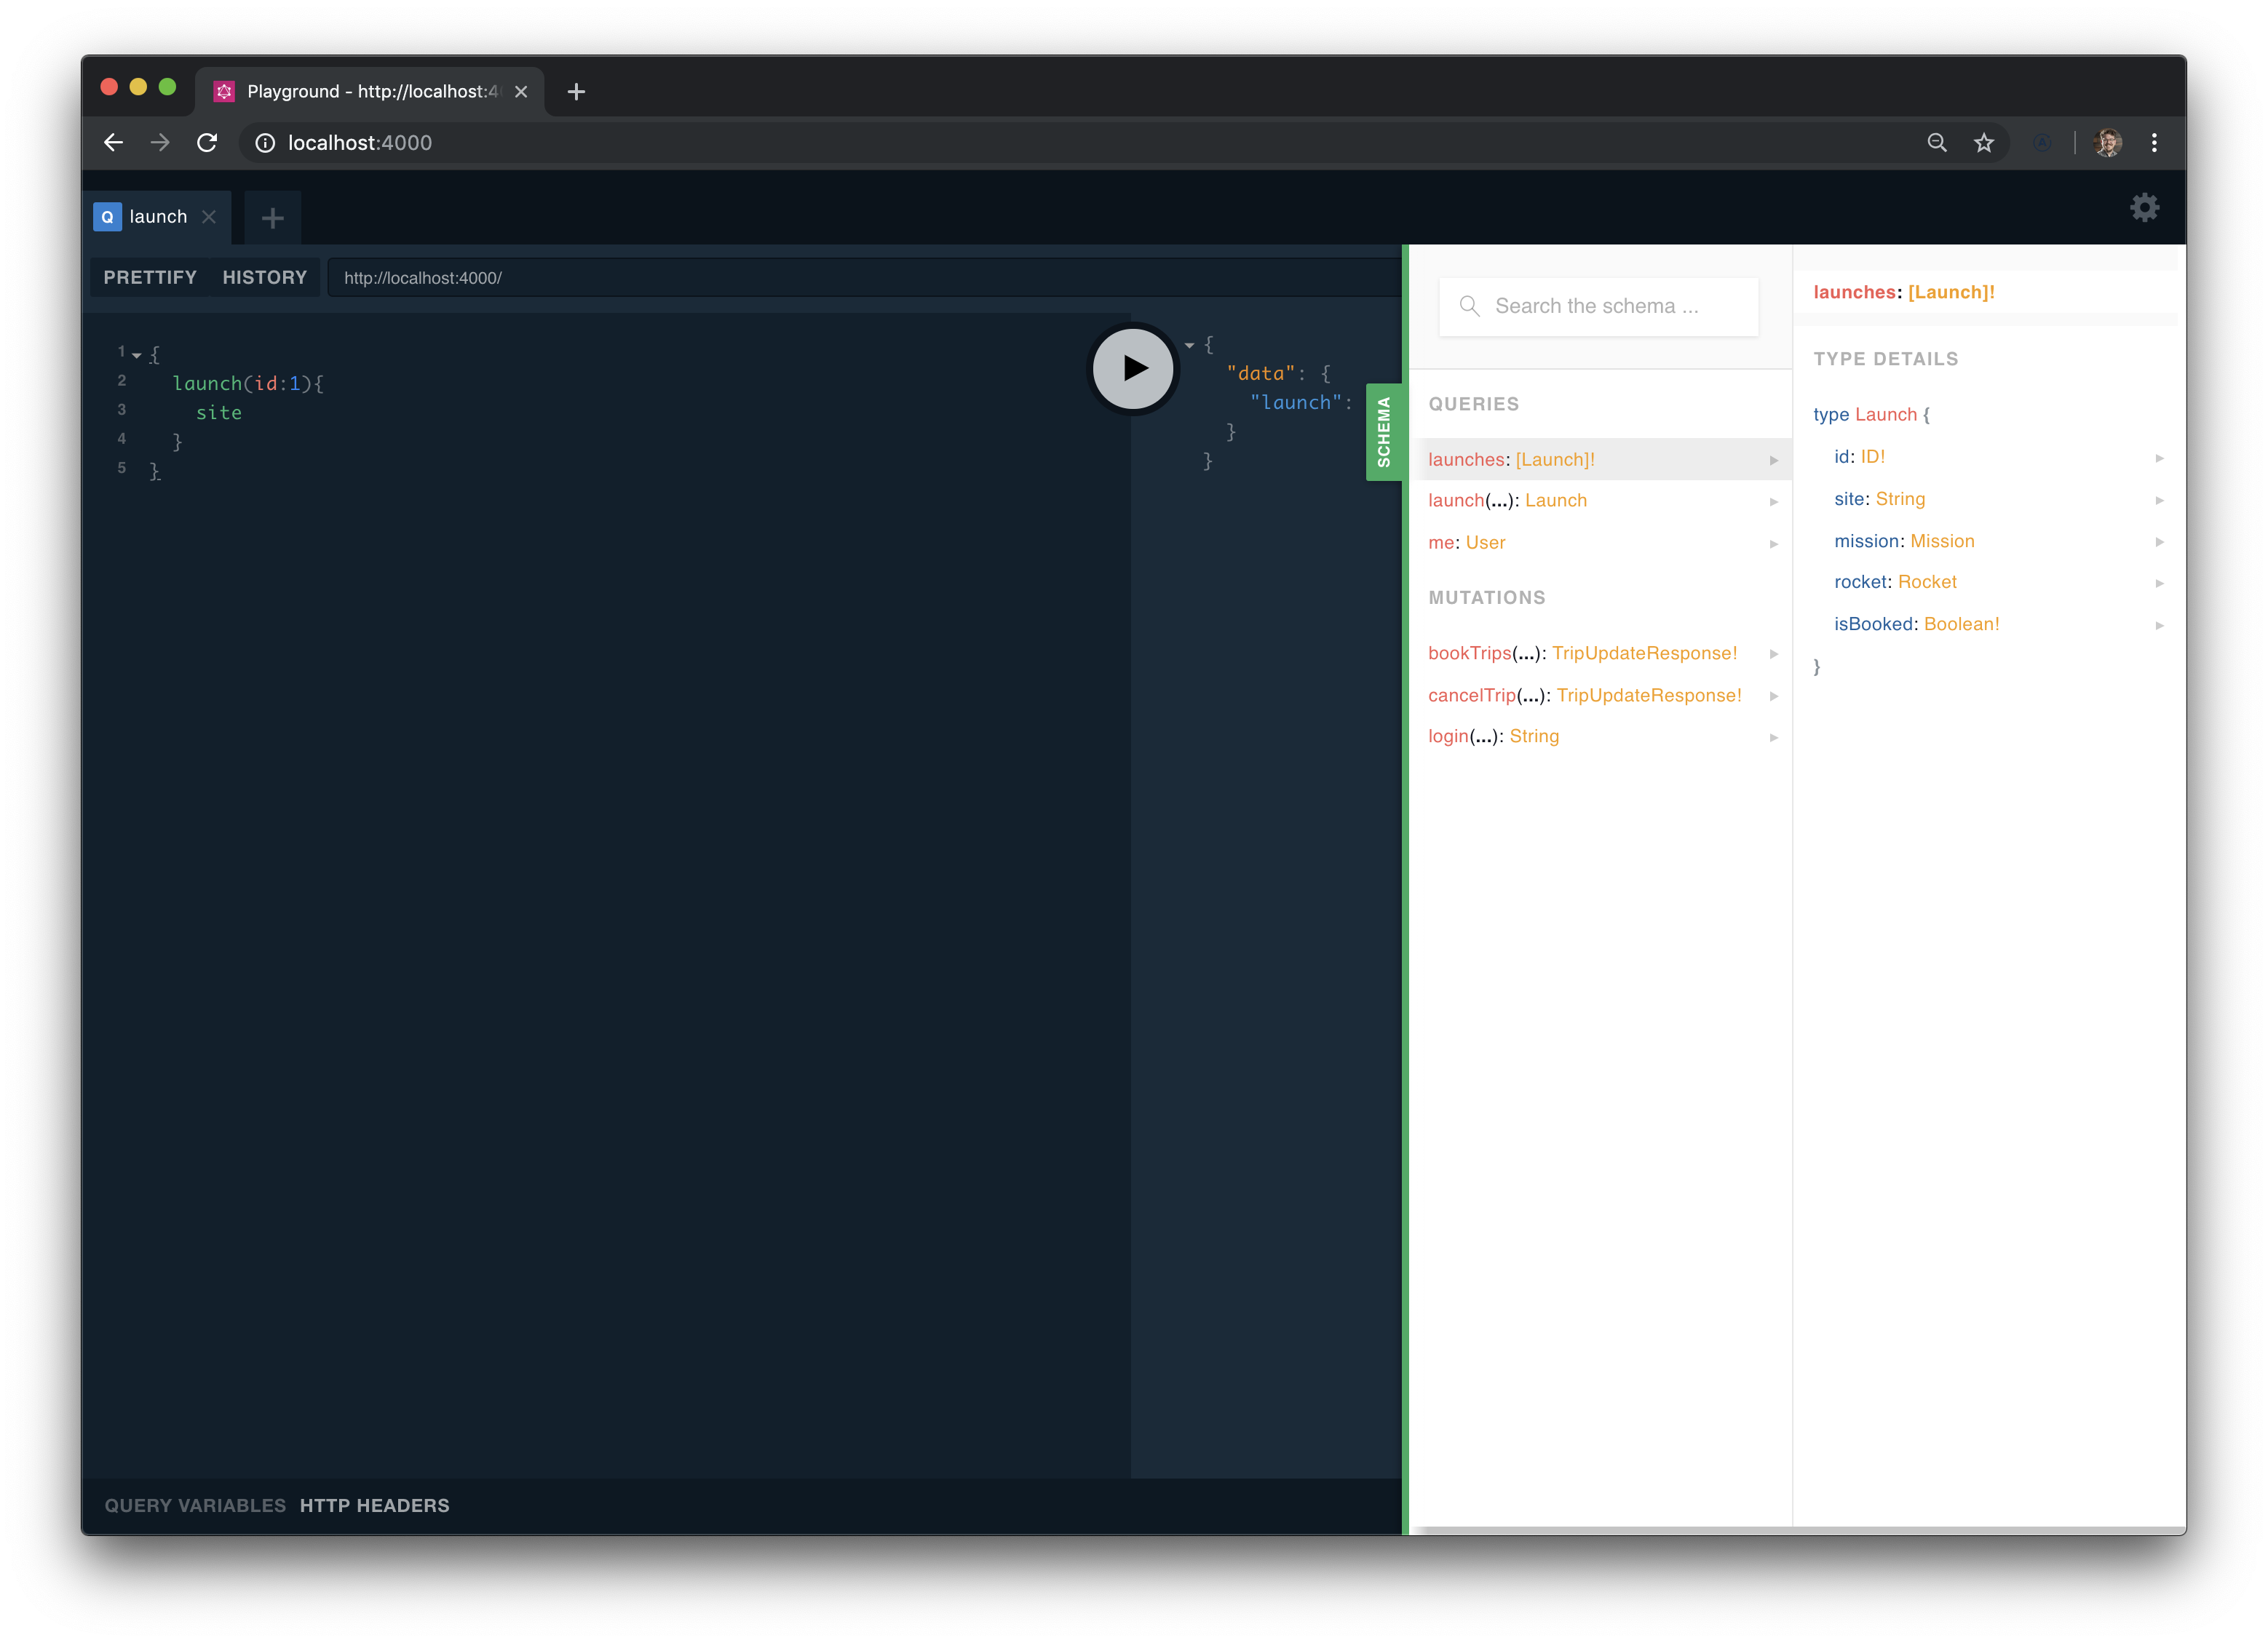
type Query {
  launches: [Launch]!
  launch(id: ID!): Launch
  # Queries for the current user
  me: User
}
まず launches query を定義しました。これは今後のロケット発射予定を全て取得するためのものです。この query は発射予定の配列を返します。この配列は決して null にはなりません。GraphQL の type は全てデフォルトでは nullable ですが、絶対に null 返さないことを示すために ! を加えられているからです。次に ID で発射予定を指定していフェッチするための launch という query を追加しました。この query は 引数として id を受け取り、単一の発射予定を返します。最後に me query を追加しました。これは現在ログインしているユーザーの情報を取得するためのものです。me query の上にはこの schema への注釈が書かれています。
First, we define a
launchesquery to fetch all upcoming rocket launches. This query returns an array of launches, which will never be null. Since all types in GraphQL are nullable by default, we need to add the!to indicate that our query will always return data. Next, we define a query to fetch alaunchby its ID. This query takes an argument ofidand returns a single launch. Finally, we will add amequery to fetch the current user's data. Above themequery is an example of a comment added to the schema.
これらの schema だけでは Launch と User がどのようなプロパティを持つオブジェクトなのかはまだわかりません。これを定義するにはどうすればいいのでしょうか?そのためには GraphQL object type を schema で定義する必要があります。
How do we define what properties are exposed by
LaunchandUser? For these types, we need to define a GraphQL object type.
Object & scalar types
では Launch がどのような構造なのかを object type を作ることで定義しましょう。以下の SDL コードをまたコピーしてバックティックの中にペースとします。
Let's define what the structure of
Launchlooks like by creating an object type. Once again, copy the following SDL code inside the backticks where thegqlfunction is invoked withinsrc/schema.js:
src/schema.js
type Launch {
  id: ID!
  site: String
  mission: Mission
  rocket: Rocket
  isBooked: Boolean!
}
Launch type には様々な種類の fields が定義されています。例えば ID や String や Boolean や Intは scalar type と呼ばれるもので、JavaScript の primitive タイプに似たものです。Scalar type は、それ以上 Graph が解決(=resolve)する必要のない type だと考えればいいでしょう。GraphQL には最初から組み込まれている scalar type もありますし、自分で定義することもできます。
The
Launchtype has fields that correspond to object and scalar types. A scalar type is a primitive type likeID,String,Boolean, orInt. You can think of scalars as the leaves of your graph that all fields resolve to. GraphQL has many scalars built in, and you can also define custom scalars likeDate.
それにたいして Mission や Rocket は object Type です。これらの type のフィールドを定義していきましょう。
The
MissionandRockettypes represent other object types. Let's define the fields onMission,Rocket, andUser:
src/schema.js
type Rocket {
  id: ID!
  name: String
  type: String
}

type User {
  id: ID!
  email: String!
  trips: [Launch]!
}

type Mission {
  name: String
  missionPatch(size: PatchSize): String
}

enum PatchSize {
  SMALL
  LARGE
}
上記コードをみて気づいたと思うのですが missionPatch は size という引数を受け取ります。GraphQL は非常に柔軟で、どのフィールドも引数を受け取ることができます。つまり引数を受け取れるのは query だけではないのです。size 引数の型である PatchSize は enum type です。
You'll notice that the field
missionPatchtakes an argument ofsize. GraphQL is flexible because any fields can contain arguments, not just queries. Thesizeargument corresponds to an enum type, which we're defining at the bottom withPatchSize.
他にもあまり頻繁には出てこない type があります。全ての type のリストはこれを参照してください。cheat sheet.
There are some other less common types you might also encounter when building your graph's schema. For a full list, you can reference this handy cheat sheet.
Mutation type
では次に Mutation type を定義しましょう。Mutation type は、データを変更するための graph の入り口を示します。Query type と同様に Mutation type は特殊な object type です。
Now, let's define the Mutation type. The Mutation type is the entry point into our graph for modifying data. Just like the Query type, the Mutation type is a special object type.
src/schema.js
type Mutation {
  # if false, booking trips failed -- check errors
  bookTrips(launchIds: [ID]!): TripUpdateResponse!

  # if false, cancellation failed -- check errors
  cancelTrip(launchId: ID!): TripUpdateResponse!

  login(email: String): String # login token
}
bookTrips と cancelTrip mutation はそれぞれ引数を受け取り、TripUpdateResponse を返します。GraphQL mutation が返す値の type はどのように定義してもいいのですが、おすすめなのはそのための特別な type を定義することです。それによって適切な値がクライアントに返るようにすることができます。特に大きなプロジェクトの場合にはそのための type を interface によって抽象化したほうがいいと思うのですが、今回は単に TripUpdateResponse に定義することとします。
Both the bookTrips and cancelTrip mutations take an argument and return a TripUpdateResponse. The return type for your GraphQL mutation is completely up to you, but we recommend defining a special response type to ensure a proper response is returned back to the client. In a larger project, you might abstract this type into an interface, but for now, we're going to define TripUpdateResponse:
src/schema.js
type TripUpdateResponse {
  success: Boolean!
  message: String
  launches: [Launch]
}
この mutation のレスポンスは、成功したかどうかという状態(success)、メッセージ(message)、そして変更対象となった launch を返します。このように変更した情報を返すようにすると、Apollo Client がその変更を反映させることができるので有効です。
Our mutation response type contains a success status, a corresponding message, and the launch that we updated. It's always good practice to return the data that you're updating in order for the Apollo Client cache to update automatically.
Run your server
さあ Schema の構築を終えてましたので、server.listen() を実行してサーバーを走らせてみましょう。
Now that we have scoped out our app's schema, let's run the server by calling
server.listen().
src/index.js
const { ApolloServer } = require('apollo-server');
const typeDefs = require('./schema');

const server = new ApolloServer({ typeDefs });

server.listen().then(({ url }) => {
  console.log(`🚀 Server ready at ${url}`);
});
npm start をターミナルで実行すると、サーバーが立ち上がります。Apollo Server は port 4000 を監視し始めます。
In your terminal, run
npm startto start your server! 🎉 Apollo Server will now be available on port 4000.
Explore your schema
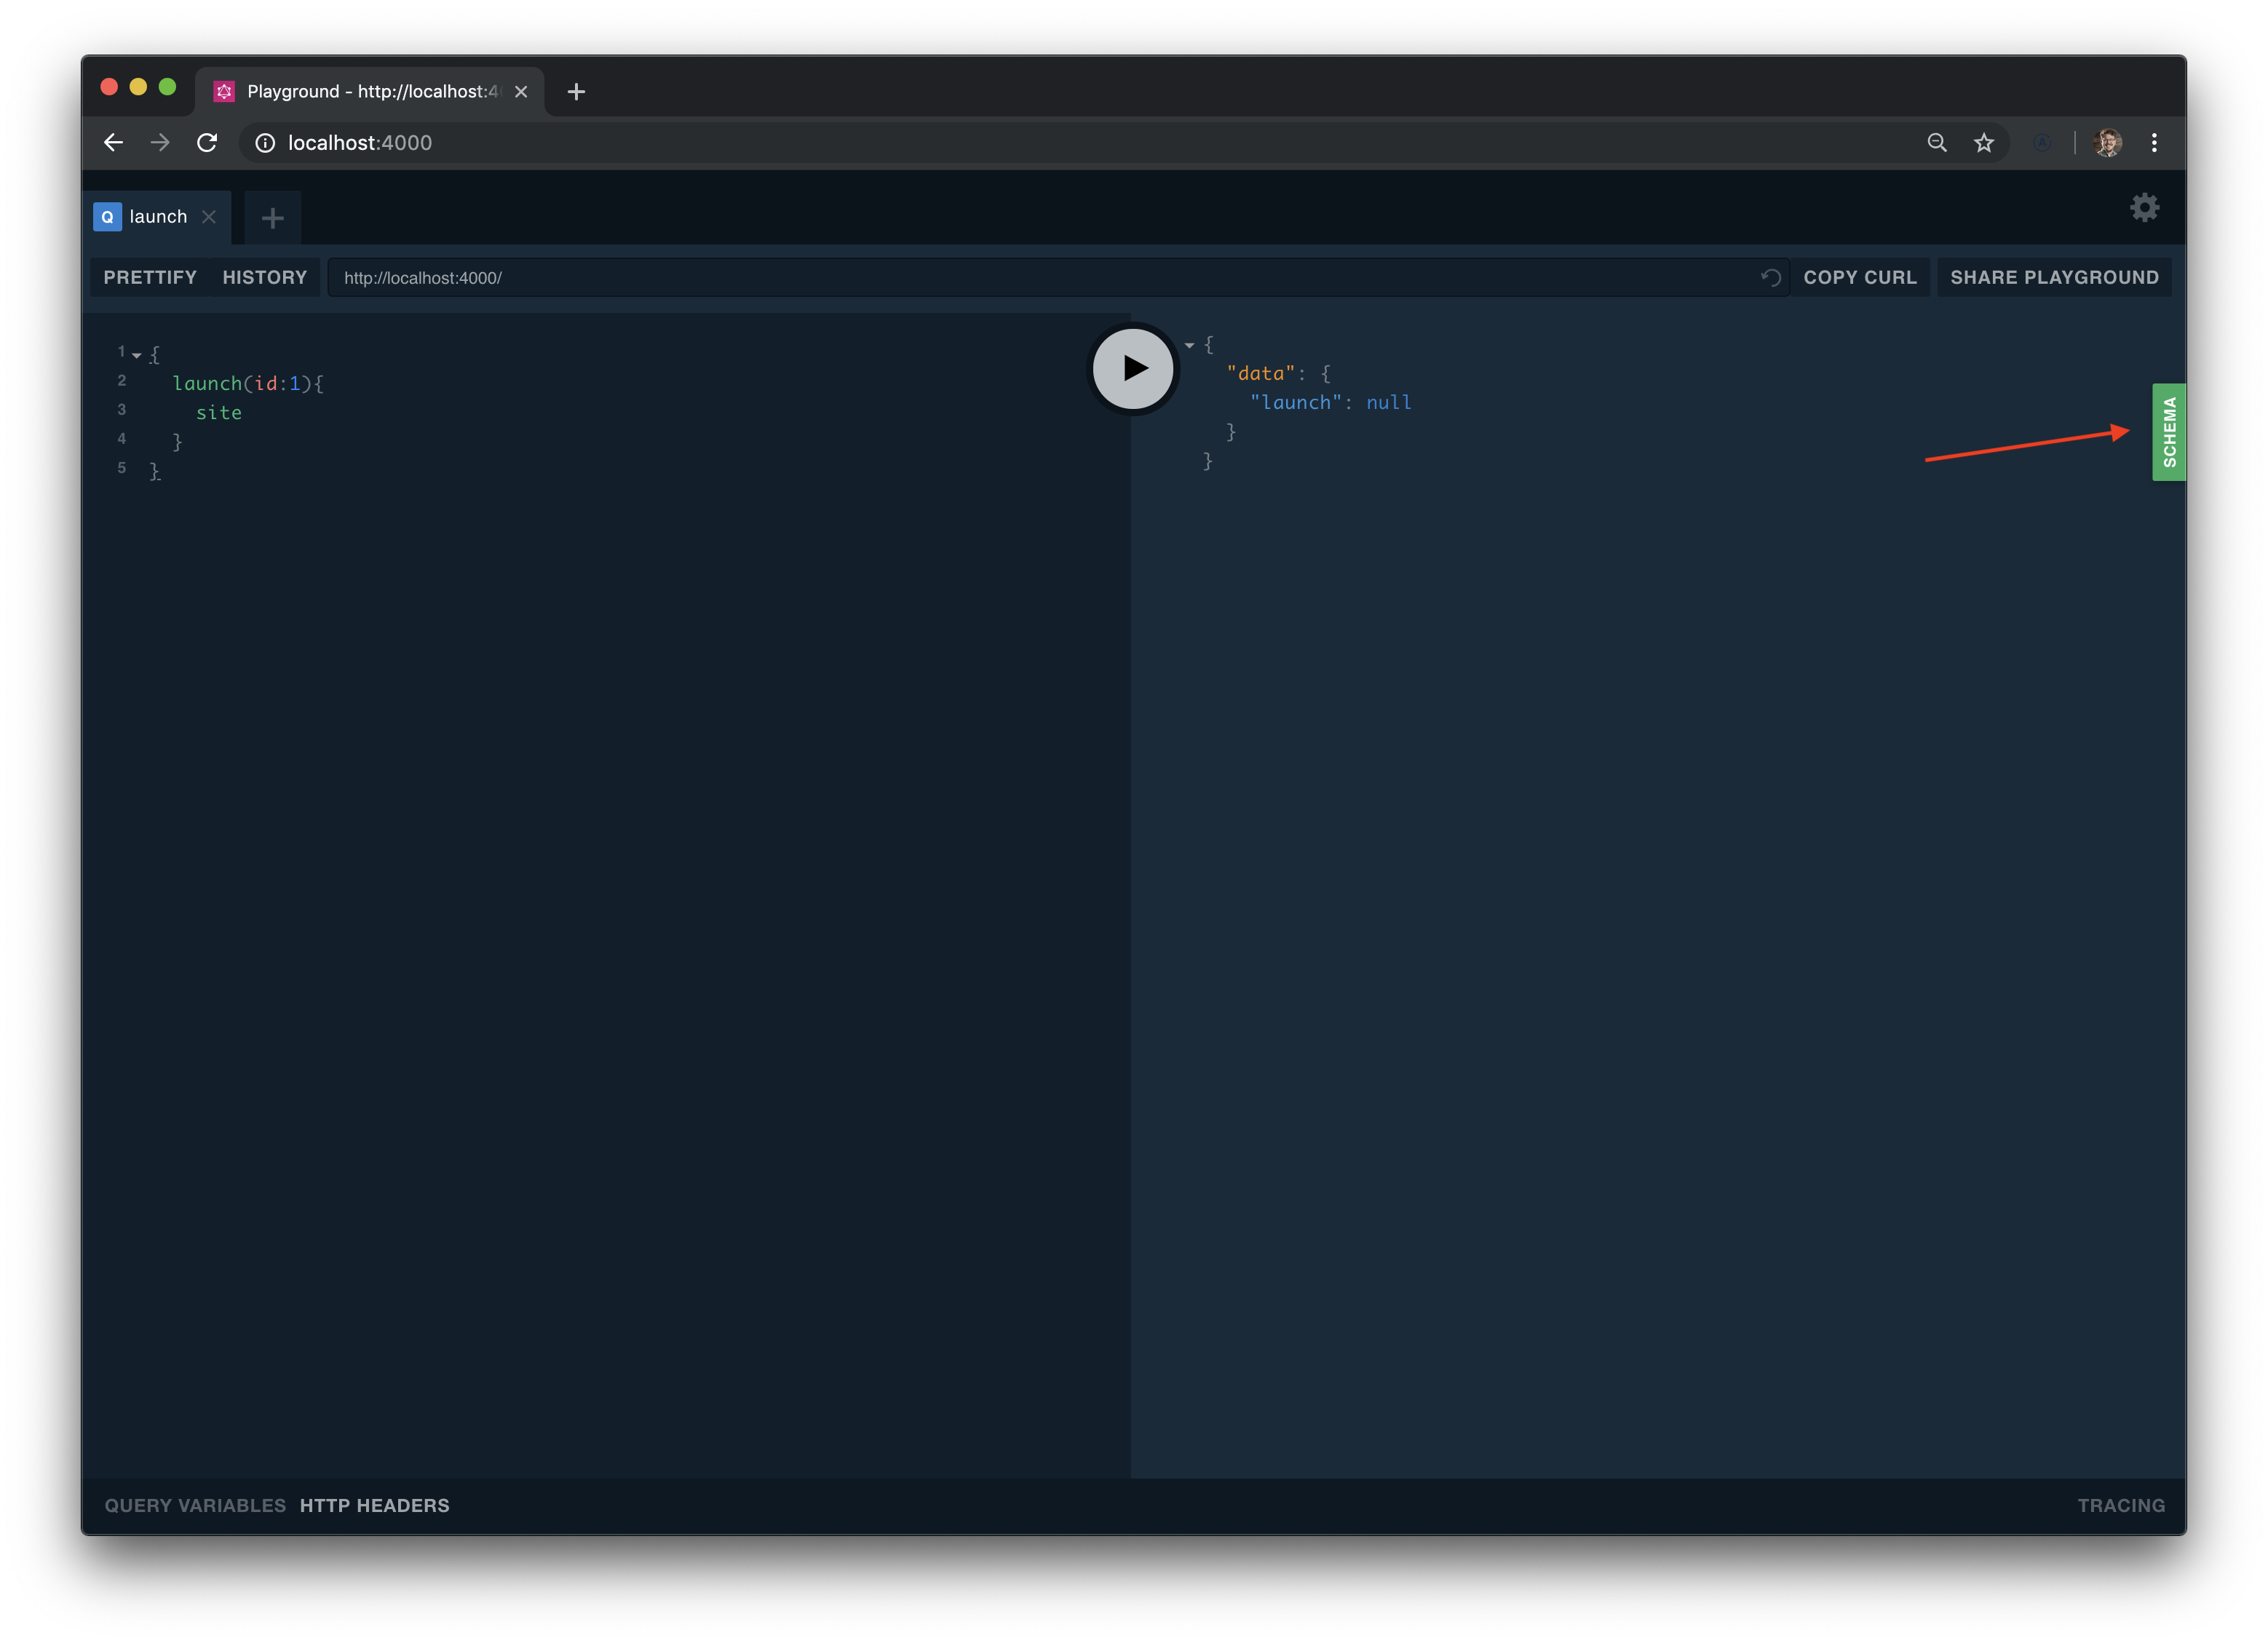
最初から Apollo Sever は GraphQL Playground を使うことができます。このプレイグラウンドはインタラクティブに操作可能な GraphQL のための IDE で、これを使って schema がどのように定義されているかを調べたり、実際にクエリを発行することもできます。Apollo Server は初期設定では GraphQL Playground を開発時にだけ立ち上げます。
By default, Apollo Server supports GraphQL Playground. The Playground is an interactive, in-browser GraphQL IDE for exploring your schema and testing your queries. Apollo Server automatically serves GraphQL Playground in development only.
GraphQL Playground は schema の詳細を調べる機能を提供します。Introspection という GraphQL の基本的な技術で、これを用いることによって graph の schema に関する詳細情報を全て表示することができます。これを確認するためには GraphQL Playground の右側にある schema ボタンをクリックしましょう。
The GraphQL Playground provides the ability to introspect your schema. Introspection is a technique used to provide detailed information about a graph's schema. To see this in action, check out the right hand side of GraphQL Playground and click on the
schemabutton.
この schema ボタンを使うことで GraphQL API のドキュメントに即座にアクセスできるということです。
You can quickly have access to the documentation of a GraphQL API via the
schemabutton.
Schema の構築については以上です。チュートリアルの次のセクションに移りましょう。
That's all for building our schema. Let's move on to the next part of our tutorial.